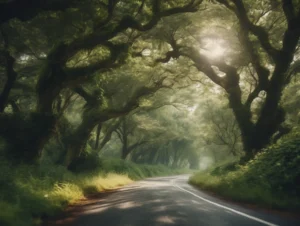
If there’s one thing that separates a good landscape photo from a breathtaking one, it’s light. The best composition, the sharpest lens, even the most majestic location — none of it matters if the light isn’t right. Learning to see and use light is what transforms snapshots into photographs that feel alive. Understanding light in landscape photography is crucial to better photos.
For me, understanding light didn’t happen overnight. It came from early mornings when the world was still quiet, waiting for that first touch of sunrise on a mountain peak — and from evenings spent watching the last light fade behind desert rock formations. Over time, I learned that light isn’t just something you capture; it’s something you read. Light shapes every story we tell with our cameras. To see how emotion and narrative connect through light, explore Mastering Storytelling on the Road for creative techniques that go beyond exposure and contrast. This is part of the series, “How I Find Off The Beaten Path Destinations”.
In this post, I’ll walk through how light shapes every decision in landscape photography — from direction and intensity to color temperature and mood. We’ll look at how different types of light affect a scene, how to work with changing weather, and why sometimes the most unexpected light creates the most powerful images. If you’re still learning the fundamentals of travel photography, my post Travel Photography for Beginners covers essential tips on seeing light and building confidence.”
👉 Read next: Mastering the Art of Composition on the Road — it pairs perfectly with this post for building your eye for light and balance in the field.
Understanding the Directions of Light in Landscape Photography
Light direction can completely transform how a landscape looks and feels. The same scene can appear soft and peaceful at sunrise, or bold and sculpted just an hour later. Learning to recognize and use the direction of light is one of the most valuable skills you can develop as a photographer on the road. See how shifting light affects desert and mountain photography. Light is equally important in wildlife photography. You can read more in my post Photographing Eagles: Lessons learned from the Riverbank. Sometimes the best light comes only to those who wait — something I talk about more in The Art of Patience in Wildlife Photography.
Front Light
Front light occurs when the sun is behind you, lighting your subject directly. It’s the most straightforward to expose, but also the flattest visually — textures and depth can disappear when everything is evenly lit. See White Pass and Yukon Railroad: Explore Skagway for some more examples of front light.
When to use it:
- When you want to emphasize color — think bright red barns, golden wheat fields, or turquoise water.
- When you need crisp, even light with minimal shadows (great for wide scenic shots).
Tips for shooting in front light:
- Use a polarizing filter to cut glare and deepen skies.
- Watch your own shadow — you don’t want it creeping into the frame.
- Add interest through composition — leading lines or strong foregrounds help avoid flatness.
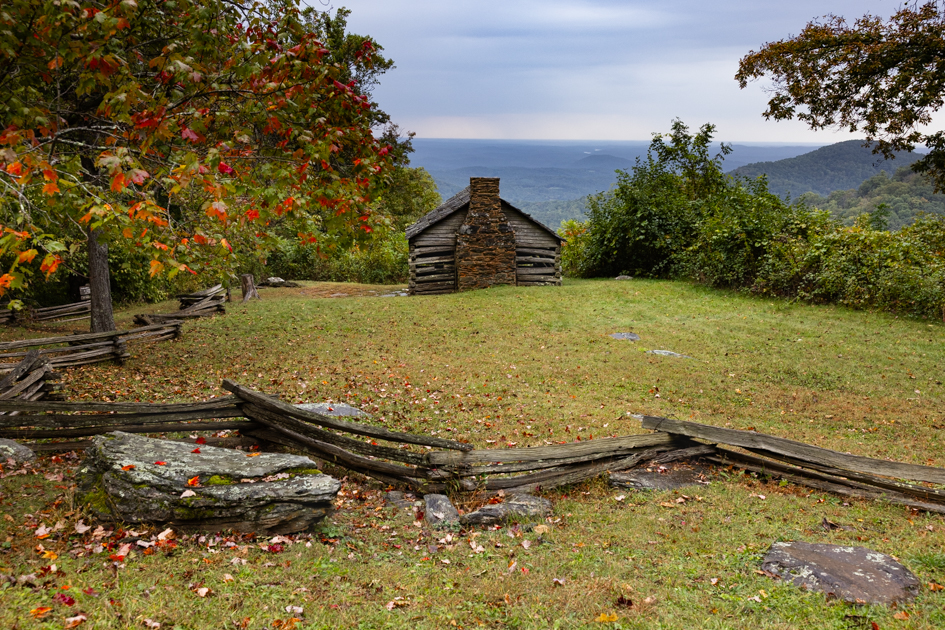
Side Light
Side light adds dimension and drama. It reveals textures, patterns, and contrast, especially in landscapes with natural contours like hills, dunes, or rock formations.
When to use it:
- During early morning or late afternoon, when the sun is low.
- When photographing landscapes with defined shapes and layers — like mountain ridges or forests.
Tips for shooting in side light:
- Look for long shadows to add depth and lead the viewer’s eye through the frame.
- Slightly underexpose to preserve detail in bright highlights.
- If the contrast feels too strong, try shooting in RAW + JPEG so you can recover detail later.
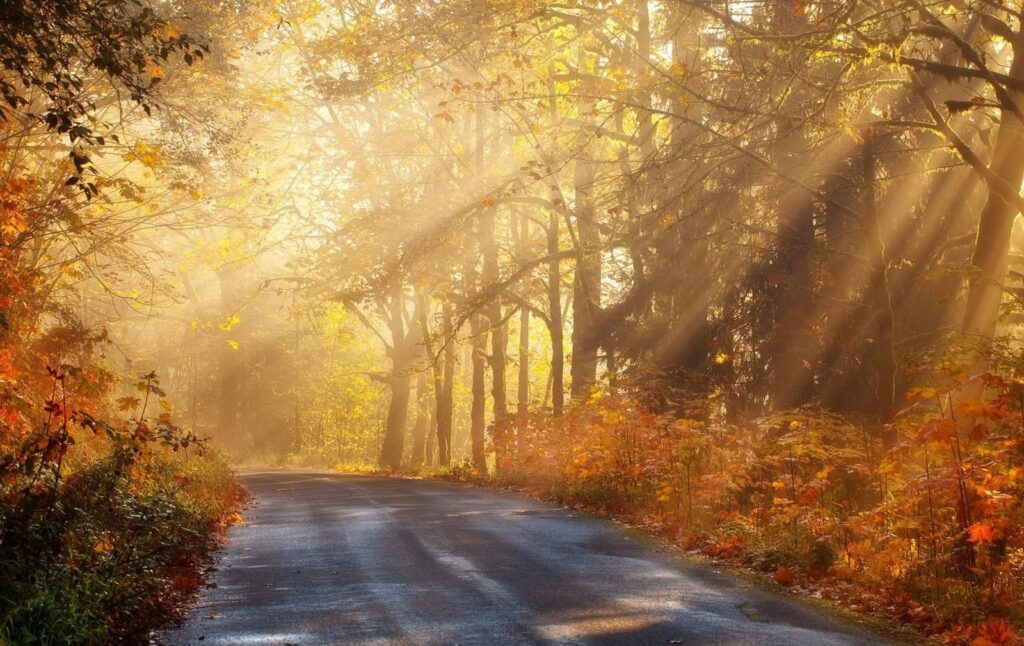
Backlight
Backlighting is when the light source is directly in front of you, shining toward your camera. It’s challenging, but it can create some of the most magical images — glowing foliage, shimmering water, and sun halos around trees or people.
When to use it:
- During golden hour or blue hour, when the light is lower and softer.
- When you want a sense of atmosphere, haze, or ethereal glow.
Tips for shooting in backlight:
- Use a lens hood or shade the lens with your hand to reduce flare (unless you want the flare).
- Expose for the highlights — overexposure will blow out the sky.
- Experiment with silhouettes — they can be simple yet powerful storytelling tools.
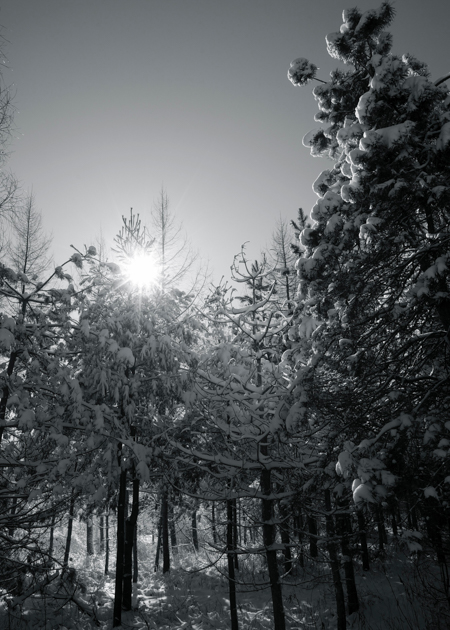
Top Light
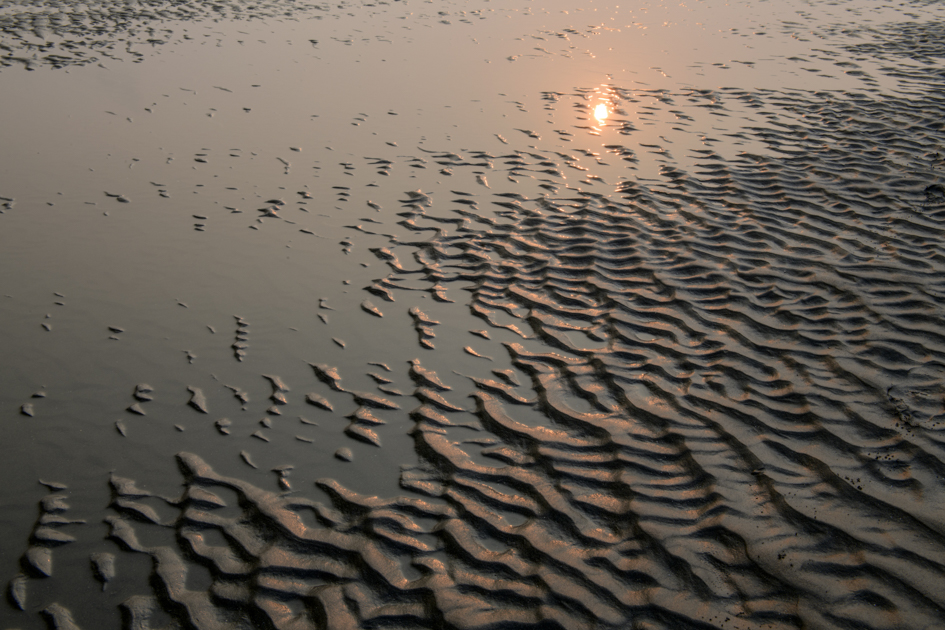
Top light happens when the sun is directly overhead — often the least flattering for landscapes because shadows are short and textures disappear. But it can work if you use it intentionally (we’ll go deeper in the Midday Light section).
When to use it:
- When photographing desert scenes, canyons, or water reflections that benefit from bright contrast.
- When clouds or haze soften the harshness of midday.
Tips for shooting in top light:
- Seek patterns or symmetry that don’t rely on shadows.
- Convert to black and white in post-processing to emphasize contrast over color.
- Use ND filters for creative long exposures of waterfalls or waves even in daylight.
👉 Related read: Mastering the Art of Composition on the Road — for techniques that pair with each lighting direction.
👉 You might also like: Travel Photography Gear Guide — to see filters and accessories I rely on when shooting in challenging light. Waimea Canyon’s red walls shift color with every passing cloud so shooting conditions can change constantly.
Golden Hour and Blue Hour – Nature’s Softbox
If light is the soul of photography, then golden hour and blue hour are its most poetic expressions. These brief windows of time — just after sunrise and just before sunset (golden hour), and the twilight that follows (blue hour) — are when the world softens, shadows lengthen, and colors bloom.
The Magic of Golden Hour
Golden hour light is warm, low, and directional — a photographer’s dream. It paints everything with a soft glow, adding depth and emotion to even the simplest landscapes. Mountains catch fire with orange light, meadows shimmer, and clouds glow pink from beneath.
Tips for Shooting During Golden Hour:
- Arrive early and stay late. The light changes fast. Scout your location ahead of time so you know exactly where to position yourself when the sun hits.
- Watch the direction. Side light reveals texture, while backlight turns grass and leaves into glowing silhouettes.
- Bracket exposures. The range between bright skies and darker foregrounds can be wide; multiple exposures help you retain detail.
- Work fast, but stay flexible. The best moments often happen in the last few minutes before the sun disappears.
👉 Related read: Mastering the Art of Composition on the Road — for pairing light direction with stronger framing choices.
The Calm of Blue Hour
Blue hour follows the sun’s dip below the horizon. The sky turns deep cobalt, colors cool, and light levels drop — but the mood? Absolutely magical. Water reflects like glass, city lights sparkle, and soft ambient light brings quiet serenity to your shots.
Tips for Shooting During Blue Hour:
- Use a tripod. You’ll need slower shutter speeds, especially for landscapes with water or distant light sources.
- Watch color balance. Set white balance manually or shoot in RAW to preserve that natural blue tone.
- Embrace reflections. Lakes, puddles, and wet sand become mirrors for the fading light.
- Add a subject. A silhouetted tree, cabin, or mountain peak can anchor your scene and create emotional contrast against the cool tones.
👉 You might also like: Mastering the Art of Wildlife Photography — for tips on low-light shooting when the animals come out as the sun goes down.
Shooting in Midday Light – Making Harsh Light Work for You
Every travel photographer knows this one: you finally reach that beautiful overlook, but it’s noon, the sun is overhead, and the light looks flat and harsh. You can’t wait until sunset — you’re on a schedule. Midday light might not be ideal, but that doesn’t mean you should pack up your camera. It just means you have to approach it differently.
Midday light often gets a bad reputation because it creates deep shadows, high contrast, and washed-out colors. But there’s still plenty of creative potential if you know how to work with it — not against it.
1. Use Shadows as Part of the Composition
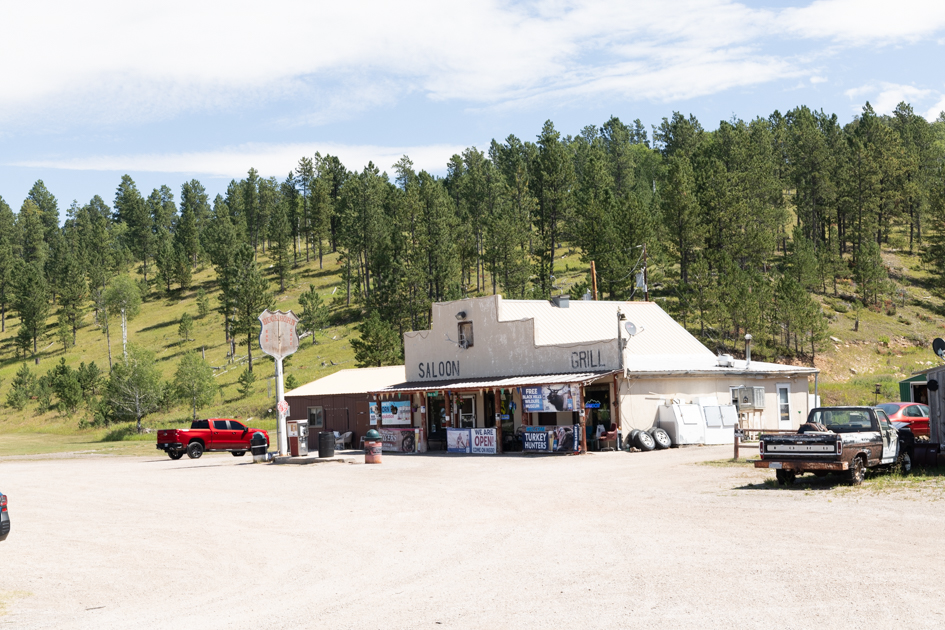
Instead of fighting the harsh shadows, make them a design element. Look for bold shapes, repeating patterns, or symmetry — all of which pop in strong sunlight. City streets, canyons, and desert scenes thrive under midday contrast.
- Position yourself to emphasize geometric shapes or textures.
- Convert to black and white to highlight tonal contrast over color.
- Experiment with negative space, letting the brightness lead the eye to your subject.
2. Find or Create Diffused Light
Nature provides its own softbox sometimes — clouds, haze, fog, or reflections. When midday sun feels too sharp, search for shaded spots or wait for passing clouds.
- In forests, use the canopy to break up the light.
- In cities, step into alleyways, under awnings, or shaded courtyards for even tones.
- On beaches or water, use reflections creatively — they can balance harsh light and add sparkle without blowing highlights.
- One of the best examples of photographing reflective light is at Hubbard Glacier in Alaska, where the ice itself glows blue under shifting skies.
👉 Read next: Mastering the Art of Composition on the Road — for how to use contrast and shadow to your advantage.
3. Control the Light with Filters
A few key tools can make midday shooting easier:
- Polarizing filter: Cuts glare and deepens skies, especially in mountain or coastal settings.
- ND (Neutral Density) filter: Reduces light intensity, allowing for longer exposures even at noon — perfect for waterfalls or moving clouds.
- Lens hood: Simple but essential. It reduces flare and keeps colors more saturated.
👉 Related read: Travel Photography Gear Guide — where I list the filters and accessories that live in my camera bag.
4. Expose for the Highlights
In bright conditions, your camera can easily blow out skies and clouds. Always expose for the highlights — it’s easier to lift shadows in post than to recover a pure white sky.
- Use exposure compensation (-0.3 to -1 stop) when shooting in bright sun.
- If your camera offers highlight warnings (zebras), use them.
- Shoot RAW + JPEG, so you have flexibility later if the light fooled your camera’s meter.
5. Embrace Color and Contrast
Midday light can make colors appear overly vivid — which can actually be a good thing. In desert landscapes, coastal towns, or flower fields, the saturation adds punch and personality.
- Try shooting against blue skies to make earthy tones pop.
- Look for complementary colors — turquoise water and coral rock, for example.
- Use the extra contrast to create bold, graphic images rather than soft, dreamy ones.
6. Tell the Story of Midday
Sometimes, the story is that it’s noon — that travelers, hikers, and road trippers are out in the thick of the day. Don’t hide from that reality; use it to add authenticity.
- Capture heat shimmer on the road, or bright reflections on water.
- Photograph people seeking shade, or empty landscapes baking in the sun.
- Let the light itself be the story — one that says, “this is what the day really felt like.”
Midday light may not be gentle, but it’s honest — it’s the world as it is. And with a bit of patience and creativity, you can turn it into some of your most striking work.
👉 You might also like: Finding the Wild Close to Home — for ideas on working with whatever light you have available, even when you can’t wait for perfect conditions.
Closing Thoughts – Learning to See the Light
Light is more than exposure — it’s emotion. It defines shape, reveals color, and sets the tone for every photograph you take. The more time you spend paying attention to it — how it shifts through the day, how clouds soften it, how shadows stretch and shrink — the more instinctive your photography will become.
Whether you’re chasing sunrise over mountain peaks, waiting for that blue-hour glow, or working with whatever midday light you’ve got, every condition has its own beauty. The goal isn’t to fight the light — it’s to learn its language.
So the next time you’re out on the road, take a moment before you lift your camera. Look at where the light falls, where it hides, and what story it’s telling. That’s where the magic begins. You may also want to read Using Reflection in Travel Photography. Reflections are another light source.
Each post is part of a creative roadmap designed to help you see the world — and your photography — in a new light.of a creative roadmap designed to help you see the world — and your photography — in a new light.
Explore More
If you’re ready to start chasing your own version of the road less traveled, here’s where to go next. These guides and stories will help you plan your trip, inspire your photography, and remind you why the back roads always have more to say.
🌍 Explore by Region
Discover the landscapes, small towns, and scenic drives that make each corner of the country unique.
🏔️ Alaska Region Travel Guides – Wild landscapes, glaciers, and unforgettable wildlife.
🌺 Hawaii Region Travel Guides – Island adventures across Oʻahu, Maui, Kauaʻi, and the Big Island.
🌲 Northwest Travel Guides – Evergreen forests, coastal highways, and hidden waterfalls.
🏜️ Southwest Travel Guides – Desert light, red rock canyons, and timeless back roads.
🌄 Appalachian Region Travel Guides – Mountain fog, winding parkways, and small-town charm.
🌻 Midwest Travel Guides – Quiet beauty, open skies, and the heart of small-town America.
🌾 Southeast Travel Guides – Covered bridges, coastal byways, and southern hospitality.
🍁 Northeast Travel Guides – Fall colors, rugged coastlines, and storybook towns.
📸 Explore by Theme
Dive deeper into the kind of travel that inspires you most.
🚗 Scenic Drives and Road Trips – From epic cross-country routes to forgotten byways.
🏞️ Regional Back Roads and Byways – Hidden gems and quiet corners off the main map.
🧭 Epic Road Trips – Month-long journeys that change how you see the road.
🛠️ Practical Travel Tips for Photographers – Smart advice for staying prepared and creative on the move.
🧳 Safety, Ethics, and Respectful Travel – Traveling with awareness and appreciation for every place you visit.
✨ Explore by Inspiration
Because travel isn’t just about where you go — it’s about what it teaches you.
- Mastering the Art of Wildlife Photography – Lessons in patience and connection from the natural world.
- Finding the Creativity in the Everyday – Find your voice behind the lens.
- My First 30-Day Road Trip – The adventure that started it all.
- Why I Chose Leica and Fuji for Travel Photography – my travel photography kit
Join the Back Roads Lens Newsletter
If you enjoy learning how to see the world through light and story, you’ll love my newsletter. Each month I share travel photography tips, behind-the-scenes stories, and new posts from my latest adventures.
👉 Join the Back Roads Lens Newsletter and get inspiration delivered straight to your inbox.
Love learning photography? Explore the full Mastering Travel Photography series — where I share the techniques, tools, and mindset that shape every photo I take.
- Mastering Travel Photography for Beginners
- Mastering Travel Photography: Tips and Tutorial for Capturing the Road Less Traveled
- Mastering the Art of Composition on the Road
- Mastering Storytelling on the Road
- Mastering RAW + JPEG Shooting on the Road
- Mastering the Art of Patience in Wildlife Photography
- Mastering Shooting in Low Light
- Mastering the Art of Wildlife Photography
- Mastering The Art of Mindful Photography
- Mastering Reflections in Travel Photography
- Mastering the Histogram: A Simple Guide to Better Exposure